Reefs Edge Aquatics wants to ensure that your new pet(s) will be comfortable during the transport from our facility to their new home. To ensure that fish are not under duress during this process, we treat each bag with a supplement. For this reason, we highly recommend following our acclimation guide to prevent any issues and to make sure your new friend(s) are properly introduced into your aquarium.
Reefs Edge Aquatics does offer store credit for any livestock that does not survive twenty-four (24) hours from the time of sale. To ensure you receive this credit, you are required to follow the instructions below. Failing to follow these instructions may void your ability to receive a store credit if anything should happen.
NOTE: A video of the acclimation process IS required to receive store credits.
Transporting Corals
Once you leave our facility, it is recommended you place your purchases in a dark cool place. Ensure that they are not left in your vehicle or outside in the heat. You will want to ensure that the bags are upright and secure. Failure to do so, may result in damage to the containers or bags. Once you arrive to your destination, it is suggested that you begin the acclimation process as soon as possible.
Once you arrive to your destination, it is suggested that you begin the acclimation process as soon as possible.
Preparing for Acclimation
Once you leave our facility, it is recommended you place your purchases in a dark cool place. Ensure that they are not left in your vehicle or outside in the heat. You will want to ensure that the bags are upright and secure. Failure to do so, may result in damage to the containers or bags. Once you arrive to your destination, it is suggested that you begin the acclimation process as soon as possible.
What You Will Need:
Airline tubing for dripline.
You can use a valve if you prefer to control the flow.
A bowl or bucket that is double the size of the bag of your purchase.
If you are acclimating various species of fish, corals, and invertebrates in the same container as these systems may have different water parameters and/or different supplements to treat for stress during transport.
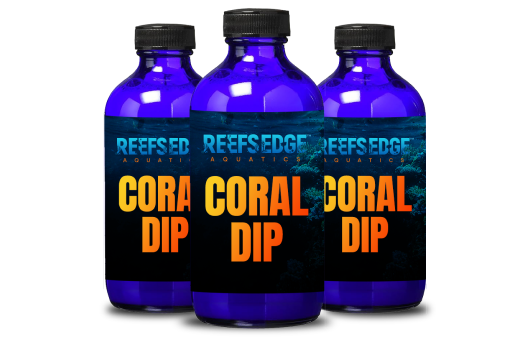
Coral Dip to treat your corals for unwanted hitchhikers.
For fish, you do not need to add any treatments as the bags already contain stress-reducing additives.
A towel.
Large area near your display tank to work.
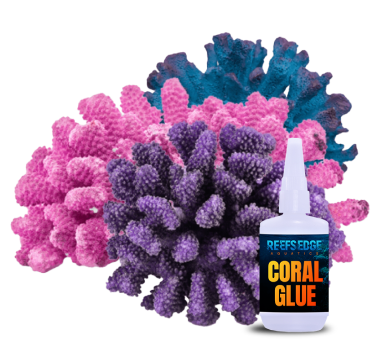
Coral glue and any supplies you need to secure your corals in your display.
Cellphone or camera with video capability.
Extra RO, RO/DI and/or Saltwater on hand depending on the type of animal you are acclimating.
NOTE!
It is HIGHLY recommended that you quarantine all fish prior to adding to your display. Reefs Edge Aquatics offers various solutions to build and maintain quarantine systems.
Acclimation Procedure
Reefs Edge Aquatics requires you to film the acclimation from the time you open the bags/containers, until the animal is introduced to your display. This is extremely important if anything should go wrong.
Reefs Edge Aquatics requires this video in order to provide you with a store credit if you lose livestock during the transport or acclimation process.
Start by cutting open the bags or remove the lid to the container and pour all contents into your bucket or bowl. Make sure that there is enough water for fish to swim and enough for corals to be completely submerged. It may be necessary to tilt your container to ensure the coral or fish have enough water.
Once you have your containers setup and filled with your new friends, you can use a cup or drip lines to slowly add water from your display to the containers. It is recommended that a drip line is used to ensure a slow and comfortable transition between the water in the container and your display. This process should take at least ten (10) minutes or until you have doubled the water volume of your container. While the drip acclimation process is underway, you can take frags and other corals and shake them off in the water to attempt to remove any unwanted detritus or hitchhikers.
Dipping Corals
Use your desired coral dip solution. Reefs Edge Aquatics offers a wide range of dipping supplements such as CoralRX™, Revive™, or Reef Dip™. The process of dipping corals can increase stress. For this reason, it is highly recommended that you follow the manufacturers instructions precisely. Even if they differ from the instructions in this acclimation guide.
After dipping the coral, you want to rinse it thoroughly in the container water prior to adding it to your display. Shaking the coral in/out of the water is suggested to ensure any decaying material or potentially hazardous hitchhikers are not introduced to your display aquarium. Reefs Edge Aquatics also recommends that you visually inspect your corals, fish, and invertebrates closely for any potential issues.
Placing Corals inside your Display
When attaching your corals, you want to use a non-toxic coral glue. Various superglues have been known to work, but it is highly recommended that you purchase your glue or putty that is formulated specifically for aquarium use.
When placing your corals, make sure you know the specific lighting and flow requirements for each species you’ve purchased. Reefs Edge Aquatics can assist you with prior to taking your purchases home.